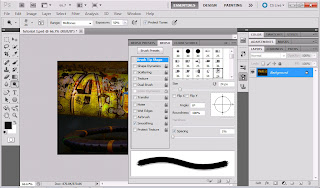
STEP 1
Open the tutorial LAB3 PSD picture.This image will be adjusted with colour of tone and other functionality in Adobe Photoshop.
STEP 2
Go to the CROP Tools to eliminate unnecessary white background in that image.
STEP 3
Go to IMAGE > Auto Tone > on Auto Contract and > Auto Colour to adjust the image colour.
STEP 4
Go to IMAGE > Adjustment and go to the Brightness/Contrast for the picture.
STEP 5
Then go to IMAGE back, and then adjust the Hue and Saturation the picture
STEP 6
After that, go to the Dodge tool, used for bright for the specific part of the picture. You can also choose any type of brush size and design.
STEP 7
Lastly, you can use the Gradient Tools and edit more for the picture look darker. Then, you can save the picture.
FINALLY
THANK YOU..


No comments:
Post a Comment